2021.09.29

How to add a spot UV & PEARLESCENT panel?

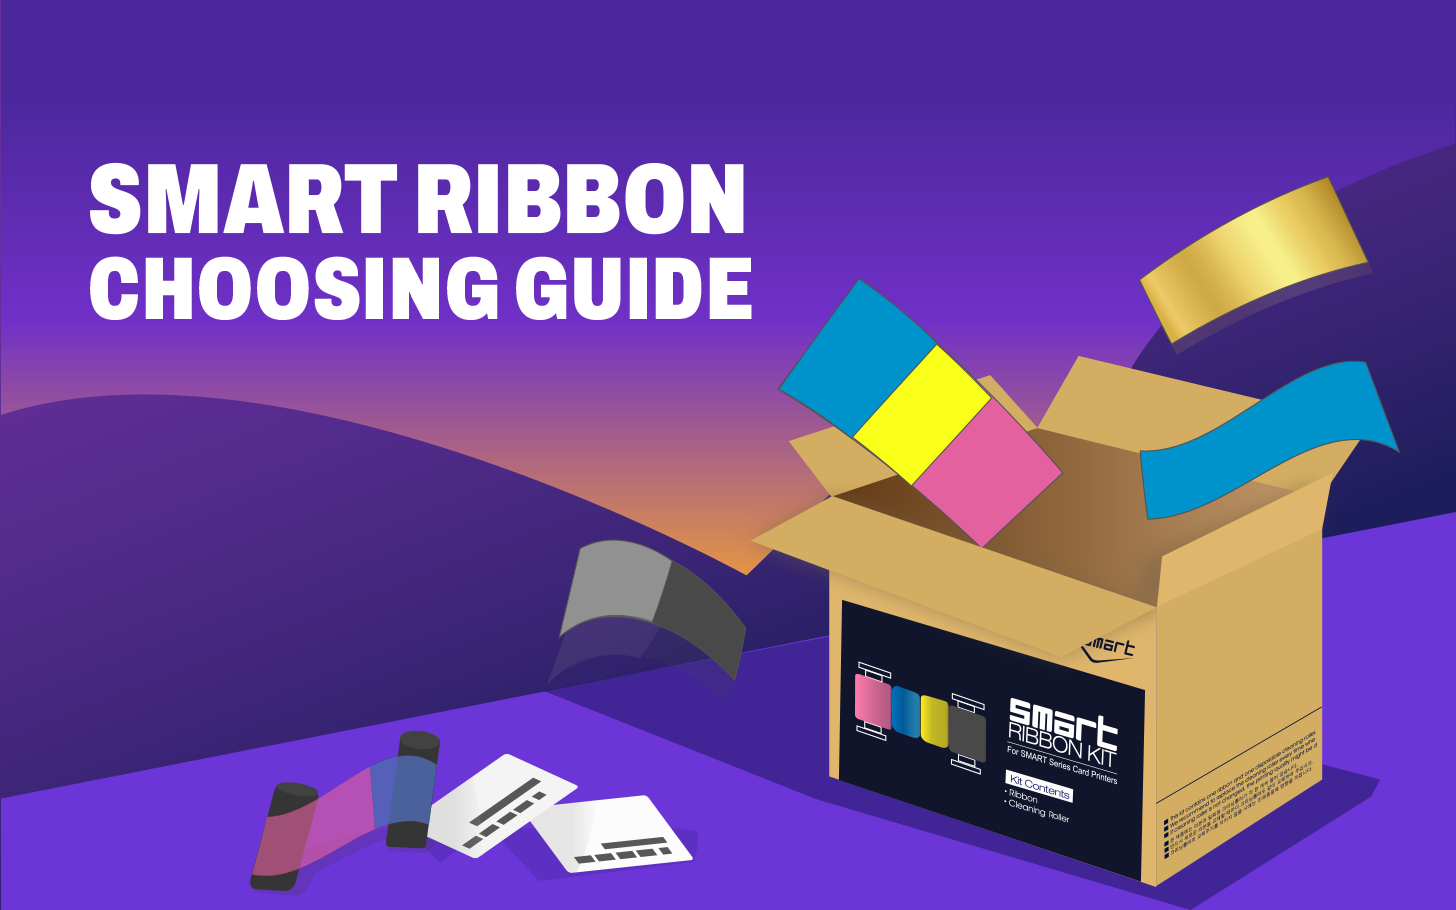
Your card looks great, but you are thinking you’d like to increase its security or add something more aesthetically pleasing?
IDP’s end users often ask me how I add or apply a “UV or PEARL” panel to their custom-designed cards.


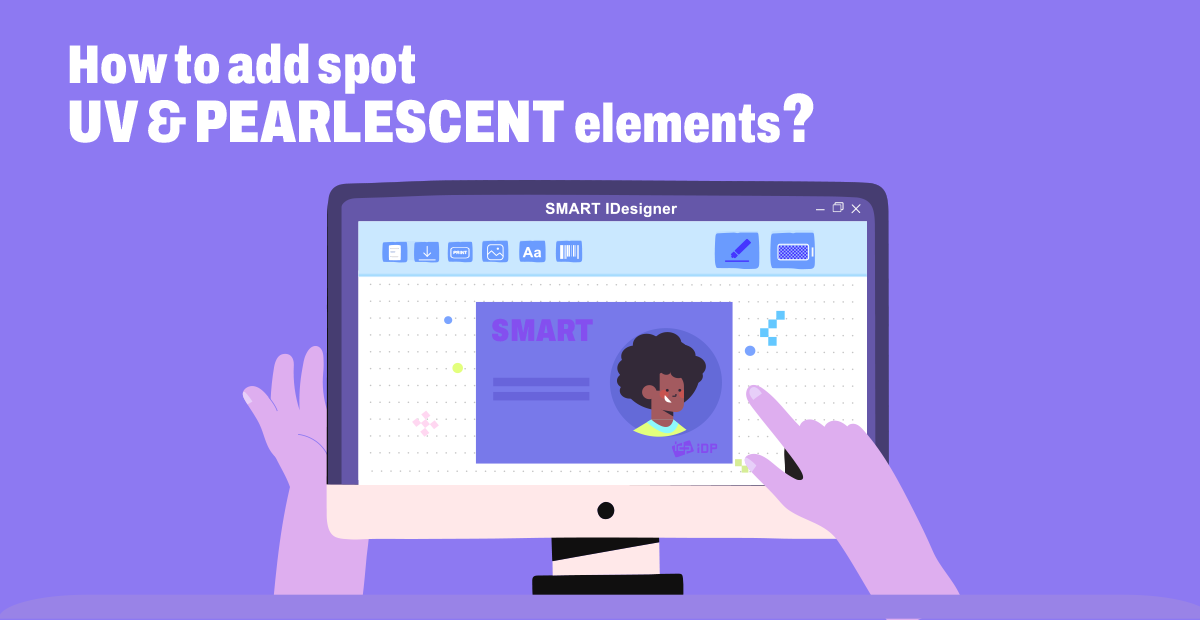
This blog is a quick tutorial to help many IDP users easily create and add spot UV and/or Pearlescent elements to their cards using IDP’s SMART IDesigner software and the YMCFKO or YMCPKO ribbons.
 
This feature allows you to create highly secure and durable identification cards in one printing cycle without the added cost associated with lamination.

Let’s get started on how simple and easy it is to add this feature with SMART IDesigner!


 IMPORTANT

- UV PANEL: view more
- Pearlescent PANEL: view more


Spot UV Panel

Adding a spot UV feature is quite simple.
There are 2 ways that you can add this feature with SMART IDesigner: Image Spot UV panel and
Printer Driver Spot UV panel.


 Image Spot UV panel tutorial:


1.    Open Adobe Photoshop or Paint program and edit the image properties to the following size.


 Adobe Photoshop
Portrait: Width: 54 mm | Height: 86 mm (300dpi)
Landscape: Width: 86 mm | Height: 54 (300dpi)


 Paint
Portrait: Width: 1016 Pixel | Height: 638 Pixel
Landscape: Width: 638 Pixel | Height: 1016 Pixel


2.    Import your PNG Logo or Image file in Photoshop
       
The image or text should be monochrome 

3.    Merge the background and the Image layer

4.    Save as BMP File (*BMP pixel should be 24 bit)

5.    Open SMART IDesigner, and check YMCFKO selection in print setup
(*Required)

6.    After clicking the Image icon, retrieve the spot saved BMP file.

7.    Check and adjust the location of UV Spot with the “Set as Fluorescent panel” & “Display as Fluorescent panel” icons

8.    Print


 Printer Driver Spot UV panel tutorial:


1.    Open the Adobe Photoshop or Paint program and edit the image properties to following size:

Adobe Photoshop & Paint
Portrait:636 x 1012 pixel 
Landscape: 1012 x 636 pixel 

  Open the spot UV panel through the printer driver at the security default (1012 X 636 Pixel) otherwise the BMP file cannot import into Smart IDesigner.


2.    Change background color as the color value below:

R: 0 
G: 0 
B: 255
 

3.    Import your PNG logo or image file or add the text that you want to designate as a pearlescent panel.
       The image or text should be monochrome 

4.    Save as a BMP File (*BMP pixel should be 24 bit)

5.    Open SMART IDesigner, and go through “Print setup – Preference – Printing” and switch Media section from Standard to "User-defined card"

6.    When the User-defined card changes, a pop-up window appears for importing the BMP image and opens the file.
       Please check again the YMCFKO selection in printing setup
(*Required)

7.    Check and adjust the location of UV Spot with the “Display as Fluorescent panel” icon

8.    Print


Spot Pearlescent Panel

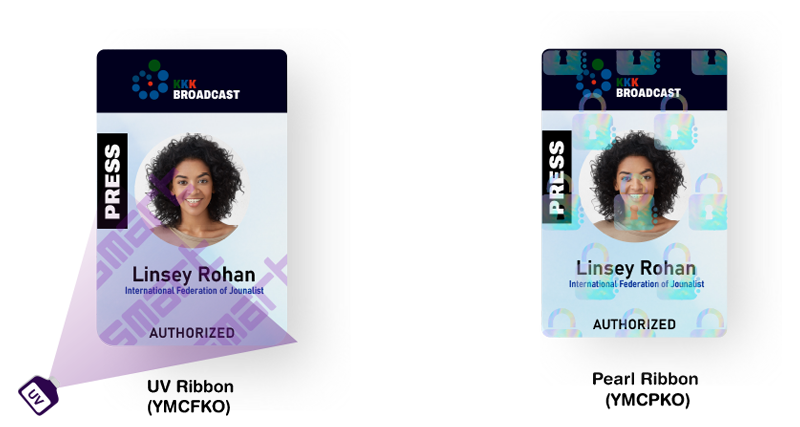
Unlike UV panels, pearl ribbon panels shine on the designated image or text after printing.
The way to create this pearlescent feature is the same as the UV panel method, and the tutorial is based on the landscape card template.


 Image Spot Pearlescent panel tutorial:


 Printer Driver Spot Pearlescent panel tutorial:


  IMPORTANT
For a complete and flawless spot/watermark feature, make sure to create an appropriate image size with high resolution and no drop shadows or glow on your UV & Pearlescent spot file.


 Compared to UV Panel & Pearlescent Panel


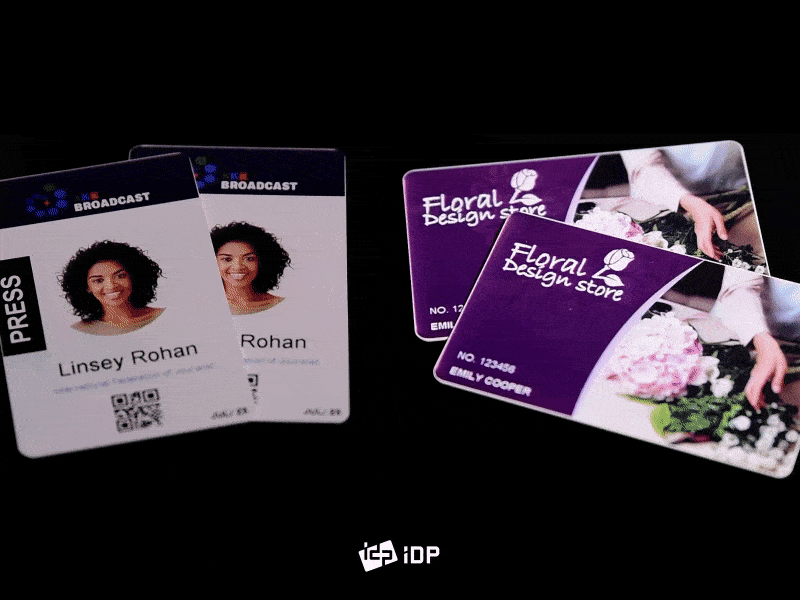
For more information about UV & Pearlescent panel ribbon, contact your worldwide IDP sales representatives.

  • #UV
  • Ribbon
  • #Pearl
  • Ribbon
  • #Tutorial
  • #SMART
  • IDesigner
  • #Cardtemplate
  • #Cardprinter

NEXT POSTING

READ MORE

What is Upper Magnetic Stripe card?

Magnetic encoding is the most common way to store cardholder information on a card and is still the least expensive.

If you need to personalize a preprinted membership card with a name or barcode and it has an upper magnetic stripe, you can use a traditional printer, but it will take longer and cost more.
Alternatively, if you used an IDP Printer with an upper magnetic encoder, the card will be fed with the magnetic stripe up, so the printer can encode the card and print it without flipping. This will increase speed and lower your costs.

2021.11.01

READ MORE

SMART Ribbon Choosing Guide

This chapter introduces useful information on using SMART ribbons and a printer ribbon selection guide designed to help many IDP users around the world print different types of cards, including membership cards, ID cards, warranty cards and event cards.

You "print smarter, not harder" than anyone else.

2021.08.30

privacy Policy

Privacy Policy

IDP Co., Ltd. (hereinafter referred to as the “Company”) regards the protection of personal data of customers who use card printing solution and all related services (hereinafter referred to as “Services”) as very important, and the Company complies with applicable laws and regulations such as GDPR, law on protection of personal data.

Article 1 (Items of Personal Data and Method of Collection)

Article 2 (Purpose of Collection and Use of Personal Data)

Article 3 (The Disposal of Special Categories of Personal Data)

The Company shall not collect any sensitive personal data (such as race or ethnic origin, ideology, creed, birthplace, domicile, political propensity and criminal record, health status and sex life) that may be of concern to the customers’ basic human rights violations, but inevitable when the Company must collect the data, the Company must get the customers’ prior consent.

Article 4 (Term of Retaining and Use of Personal Data)

Article 5 (Customer’s Rights and Methods to Execute Customer’s Rights)

Customer has the right, at any time, to access or rectify his/her personal data, and customer may request to erase the data. the Company shall take measures if customer contacts the data protection officer by writing, telephone or e-mail after the identity verification process. If customer requests rectification of an error in personal data, the Company will not use or provide the personal data until the rectification is completed. In addition, if wrongful personal data has already been provided to a third party, the result of rectification will be notified to the third party so that the rectification can be made. The Company treats personal data that has been erased at customer's request as described in “Term of Retaining and Use of Personal Data” and prohibits the data from being accessed or used for other purposes.

If customer exercises ‘right to object’ on data collected for marketing purposes by the Company, the Company immediately ceases processing the personal data. Notwithstanding, the Company may process personal data if the Company can demonstrate that its compelling legitimate interest overrides the interests or the fundamental rights and freedoms of the data subject, or if the processing is for the determination, exercise or defense of legal claims.

Article 6 (Outsourcing of Processing of Personal Data)

Article 7 (Processing of Children’s Personal Data)

The Company does not process personal data of children under 14 (In Europe, children under16). The Company may verify the age at the time of collecting personal data.

Article 8 (Data Protection Officer)

The Company has designated customer center and a data protection officer to protect the personal data and cope with relevant complaint.

1. Republic of Korea
KISA Privacy Center privacy.kisa.or.kr / 118
Supreme Prosecutors’ Office of the Republic of Korea www.spo.go.kr / 1301
Cyber Terror Response Center cyberbureau.police.go.kr / 182
2. Other Countries
Country URL Country URL
EU www.edps.europa.eu/EDPSweb Greece www.dpa.gr
Austria www.dsb.gv.at Hungary www.naih.hu
Belgium www.privacycommission.be Italy www.garanteprivacy.it
Bulgaria www.cpdp.bg Latvia www.dvi.gov.lv
Croatia www.azop.hr Lithuania www.ada.lt
Cyprus www.dataprotection.gov.cy Luxembourg www.cnpd.lu
Czech Rep. www.uoou.cz Malta www.dataprotection.gov.mt
Denmark www.datatilsynet.dk Netherlands www.autoriteipersoonsgegeve ns.nl/nl
Estonia www.aki.ee Poland www.giodo.gov.pl
Finland www.tietosuoja.fi Portugal www.cnpd.pt
France www.cnil.fr Romania www.dataprotection.ro
Germany www.bfdi.bund.de Slovakia www.dataprotection.gov.sk
Ireland www.dataprotection.ie

Article 9 (Modification and Notification of Privacy Policy)

Additions, deletions, modifications to this privacy policy will be notified through the homepage of the websites, etc.

Addendum

This privacy policy takes effect on May 1, 2020.